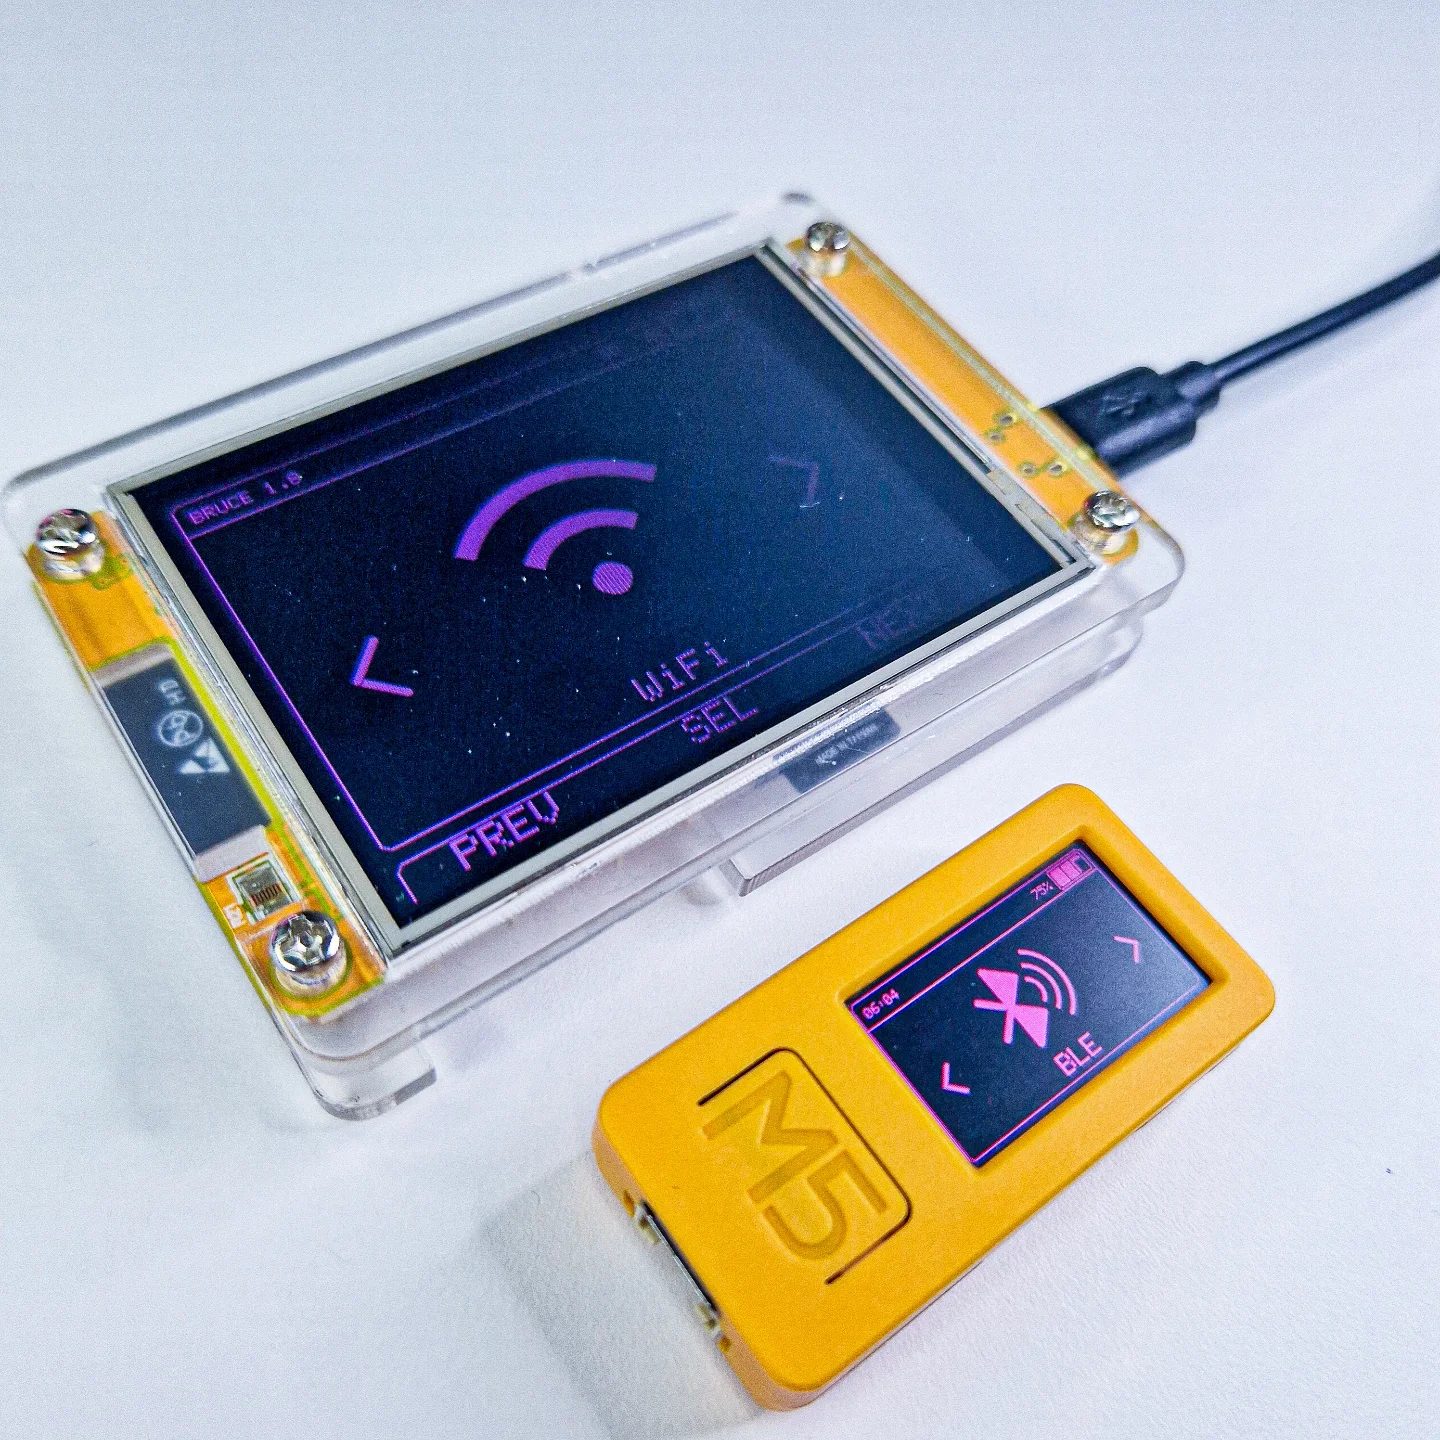
DIY WiFi Device
DIY WiFi devices offer a versatile solution for custom network management and connectivity. These devices typically feature a small screen displaying essential icons and network information, such as WiFi and Bluetooth connectivity statuses, firmware details, and more. If you’re considering building your own DIY WiFi device, you’ll need to understand the key components, their functions, and how to assemble them effectively.
Context / Why this matters
DIY WiFi devices can enhance your network control, allowing you to customize various aspects of your connectivity experience. They can be used for home automation, managing multiple devices, or even for more advanced purposes like network security monitoring. Whether you are a hobbyist or an aspiring tech enthusiast, building a DIY WiFi device can be a rewarding project that offers both practical and educational benefits.
Building a DIY WiFi device allows you to tailor the hardware and software to your specific needs. It’s a great way to gain hands-on experience with electronic components and programming, making it an excellent project for learning and experimentation.
Main discussion
Understanding the Components
The core components of a DIY WiFi device typically include:
- Microcontroller: The brain of the device, controlling all operations. Popular choices include the ESP8266 and ESP32, which are known for their WiFi and Bluetooth capabilities.
- Display: A small screen to show network status, firmware details, and other relevant information. Common displays include OLED or LCD screens.
- WiFi and Bluetooth Modules: Used for wireless connectivity. The ESP8266 and ESP32 boards often come with built-in WiFi and Bluetooth capabilities, simplifying the setup.
- Power Supply: Ensures the device has a stable power source. Common choices include USB power supplies or rechargeable batteries.
- Buttons and Switches: For user interaction, allowing you to turn the device on and off, reset it, or navigate menus.
Assembling the Device
Assembling a DIY WiFi device involves several key steps:
- Selecting the Microcontroller: Choose a microcontroller that supports WiFi and Bluetooth. The ESP8266 and ESP32 are popular choices due to their integrated wireless capabilities.
- Wiring the Display: Connect the display to the microcontroller using appropriate pins. Ensure that the display's power, ground, and data pins are correctly wired.
- Integrating WiFi and Bluetooth Modules: If your microcontroller doesn’t have built-in WiFi and Bluetooth, you’ll need to add separate modules and connect them to the microcontroller.
- Programming the Device: Write the firmware for the microcontroller. This includes setting up the network configuration, defining the display content, and handling user inputs.
- Powering the Device: Connect a power supply to ensure the device operates reliably. This could be a USB power supply or a rechargeable battery, depending on your use case.
- Testing and Debugging: After assembly, test the device to ensure all components are working correctly. Use debugging tools to troubleshoot any issues and fine-tune the firmware.
Network Connectivity
A DIY WiFi device can handle various network tasks, such as:
- WiFi Connectivity: Managing WiFi networks, switching between different networks, and connecting to the internet.
- Bluetooth Connectivity: Pairing with other Bluetooth devices, such as smartphones, or controlling other Bluetooth-enabled gizmos.
- Network Monitoring: Keeping track of network performance, detecting issues, and providing real-time monitoring data.
- Firmware Updates: Updating the firmware to add new features, improve performance, or fix bugs.
Customization and Personalization
One of the main advantages of a DIY WiFi device is the ability to customize and personalize it:
- Custom Firmware: Write your own firmware to add unique features, such as custom network protocols or specialized monitoring tools.
- User Interface: Design a user-friendly interface on the display, making it easy to interact with the device and view essential information.
- Hardware Modifications: Modify the hardware to fit specific use cases, such as adding sensors or other peripherals.
Practical tips
Building a DIY WiFi device can be made easier with the following practical tips:
- Use Online Resources: Utilize online forums, tutorials, and documentation to help you through the process. Websites like GitHub, Instructables, and Adafruit offer a wealth of information and pre-built projects.
- Start Small: Begin with a simple project and gradually add more features as you gain experience. This helps you avoid becoming overwhelmed by the complexity of the device.
- Invest in Quality Components: Use reliable and high-quality components to ensure the stability and performance of your device. Poor-quality parts can lead to frequent malfunctions and frustrating troubleshooting sessions.
Important takeaways
Building a DIY WiFi device is a rewarding project that offers a deep dive into electronics and programming. Here are some key takeaways to remember:
- Components Matter: The choice of components significantly impacts the performance and functionality of your device. Invest in high-quality microcontrollers, displays, and other parts.
- Proper Wiring: Pay close attention to wiring details to ensure all components are correctly connected and functional.
- Firmware Development: Writing and testing your firmware is a crucial step. Use debugging tools to identify and fix issues.
- Customization: Take advantage of the device's customizability to tailor it to your specific needs and preferences.
Conclusion
DIY WiFi devices offer a flexible and customizable solution for managing your network connectivity. By understanding the key components, following a structured assembly process, and utilizing online resources, you can build a powerful and reliable device tailored to your needs. Whether you're a hobbyist or an aspiring tech enthusiast, a DIY WiFi device is a fantastic project to undertake.
Questions readers ask
What are the essential components needed to build a DIY WiFi device?
To build a DIY WiFi device, you typically need a microcontroller (e.g., ESP8266 or ESP32), a display screen, antennas for WiFi and Bluetooth, a power source, and various other components like resistors, capacitors, and breadboards for connections. Additionally, you might need programming tools and a development environment like the Arduino IDE to write and upload code.
Can a DIY WiFi device be used for home automation?
Absolutely! A DIY WiFi device can be programmed to control various home automation tasks. For example, you can use it to manage smart lights, thermostats, and security cameras. By integrating it with other smart devices, you can create custom automation routines tailored to your specific needs.
What programming skills are required to build a DIY WiFi device?
Basic programming skills are essential. Familiarity with languages like C or C++ is beneficial, as these are commonly used in microcontroller programming. Understanding how to write and upload code to a microcontroller using an IDE like the Arduino IDE is also crucial. Additionally, knowledge of networking protocols can be helpful for more advanced customization.
How can a DIY WiFi device enhance network security?
A DIY WiFi device can be programmed to monitor network traffic and detect unusual activities, providing an extra layer of security. You can configure it to send alerts or take automated actions when it detects potential threats. For instance, it can block unauthorized access or notify you of suspicious activities, helping to safeguard your network and connected devices.
What are the benefits of DIY WiFi devices over pre-built routers?
DIY WiFi devices offer greater customization and control over your network. Unlike pre-built routers, which have fixed features, a DIY device can be tailored to meet your specific requirements. This includes custom firmware, unique functionalities, and the ability to integrate with other DIY projects. Additionally, building your own device can be a rewarding project that deepens your understanding of networking and programming.
Can a DIY WiFi device be used for mobile connectivity?
Yes, a DIY WiFi device can be designed for mobile connectivity. By incorporating a battery and a compact design, you can create a portable WiFi hotspot that you can take with you on the go. This can be particularly useful for travel or for providing network access in remote locations. You can also integrate GPS capabilities for location-based services and enhance the device's utility.
What are some common challenges in building a DIY WiFi device?
Building a DIY WiFi device can present several challenges, such as sourcing the right components and troubleshooting connectivity issues. Programming the device to perform specific tasks can also be complex, especially for those new to microcontroller programming. Additionally, ensuring the device is reliable and secure requires careful consideration of hardware and software design aspects.
Related deep dives
Similar reads based on topic and creator.




Recent articles
Fresh deep dives from the latest Reels we unpacked.




Comments
Be the first to comment.