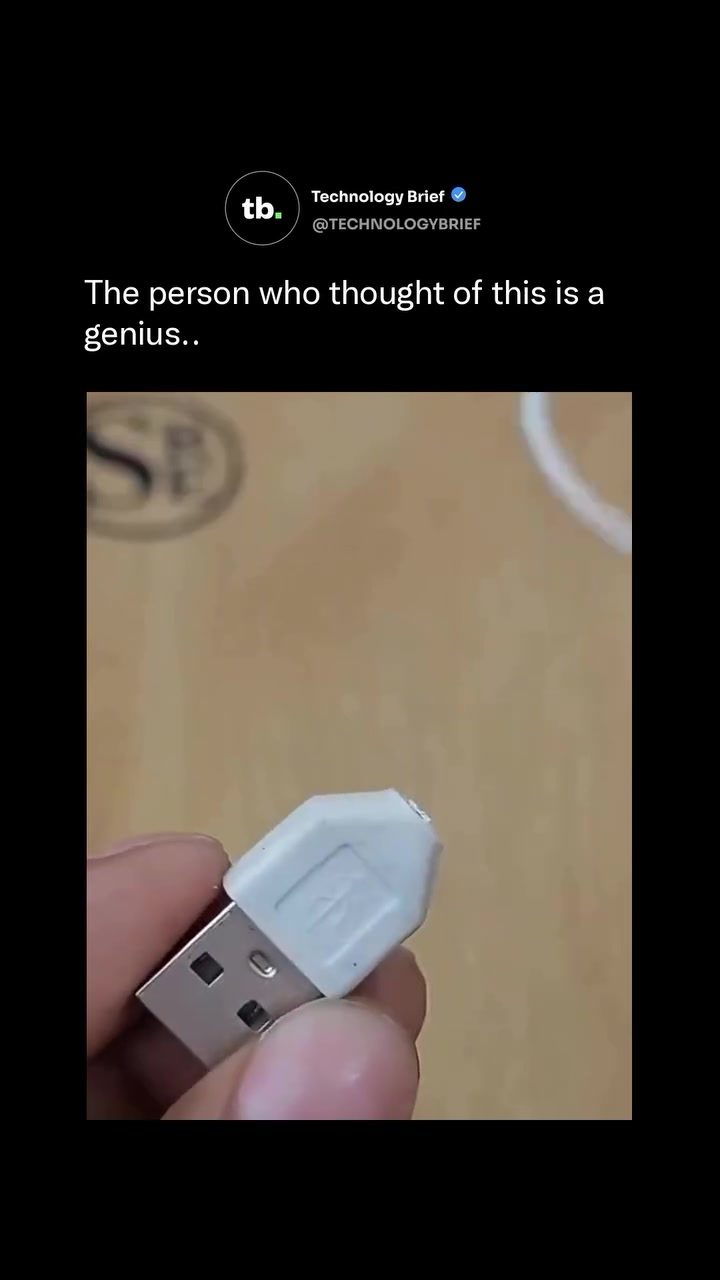
DIY USB RGB Fan: A Creative Use of Scrap Materials
Creating a functional RGB fan from scratch using nothing but recycled materials and a few basic tools is a fantastic way to demonstrate the power of DIY. The build showcased in this project combines a USB cable, an RGB LED, a plastic bottle cap, a hot glue stick, and a small fan blade to create a colorful, decorative light that runs on just 5 volts of power. The ingenuity of this build lies in its simplicity and the use of everyday items.
Context / Why This Matters
The concept of building an RGB fan from recycled materials highlights the growing trend of sustainability and creativity. Many DIY enthusiasts find innovative ways to repurpose old items, reducing waste and creating unique projects. This particular build stands out because it uses a USB cable, which is a common electronic component that many people have lying around.
Main Discussion
Components and Setup
The core components of this DIY RGB fan are:
- USB Cable: The USB cable provides the power and the necessary pins for connecting the RGB LED.
- RGB LED: This LED has four pins — one each for red, green, and blue lights, and a shared ground. The USB power pins are connected to these LED pins to cycle through the colors.
- Plastic Bottle Cap: The bottle cap serves as the housing for the entire assembly. It protects the internal components and provides a stable base.
- Hot Glue Stick: Hot glue acts as both an insulator and a structural shell, holding all the parts in place securely.
- Small Fan Blade: A small, lightweight fan blade is attached to create the spinning effect.
Assembly Process
The assembly process involves several steps:
- Stripping the USB Cable: The USB connector pins are stripped to expose the wires, which are then soldered directly to the RGB LED legs. This ensures a secure and stable connection.
- Soldering the LED: Connect the LED pins to the USB connector’s power pins. The LED will cycle through colors without needing an extra controller chip, thanks to the power provided by the USB connector.
- Shaping and Fitting: Use a soldering iron to shape the assembly and fit it inside the plastic bottle cap. The cap serves as a sturdy housing that protects the components and provides a finished look.
- Adding the Fan Blade: Attach the small fan blade to complete the assembly. The finished fan will spin with a gentle puff of air, creating a decorative light effect.
Power and Functionality
The entire assembly runs on just 5 volts of power, which is the same power output from a standard wall charger. This makes the fan both energy-efficient and convenient to power. The finished fan does not spin on its own and requires a gentle puff of air to get the blades turning, making it more of a decorative light than a functional cooler. However, the colorful light effect created by the RGB LED makes it a charming addition to any space.
Practical Tips
Choosing the Right Materials
When selecting materials for this DIY project, consider the following:
- USB Cable: Ensure the USB cable is in good condition and has enough length to connect to a power source.
- RGB LED: Choose an RGB LED with clear pin identification for red, green, blue, and ground.
- Bottle Cap: The cap should be sturdy and large enough to fit all the components. A larger cap can improve the stability of the fan.
- Hot Glue: Use high-quality hot glue for a strong and durable bond.
- Fan Blade: Opt for a lightweight and balanced fan blade that spins smoothly.
Tools Needed
- Soldering Iron and Solder: Essential for connecting the USB connector pins to the LED legs.
- Wire Strippers: To expose the connector pins on the USB cable.
- Scissors or a Cutting Tool: For trimming the fan blade and any excess material.
- Pliers: To hold and manipulate small components during assembly.
Important Takeaways
Building a DIY RGB fan using recycled materials is a fun and rewarding project. It not only reduces waste but also showcases your creativity and technical skills. The key takeaways from this project include:
- Sustainability: Repurposing old materials helps reduce electronic waste and promotes a greener lifestyle.
- Simplicity: This project demonstrates that complex electronic devices can be created with minimal components.
- Versatility: The finished fan serves primarily as a decorative light, but the principles can be applied to other DIY projects.
- Cost-Effective: Using scrap materials makes this project budget-friendly, perfect for anyone looking to save money on hobby projects.
Conclusion
Creating a DIY RGB fan from a recycled USB cable, an RGB LED, and a few other basic materials is a testament to the possibilities of DIY electronics. This project not only promotes sustainability but also showcases the ingenuity and creativity of DIY enthusiasts. By following the steps and tips outlined, you can build a unique, colorful, and functional decorative light that adds a personal touch to any space.
Questions readers ask
What materials do I need to create a DIY USB RGB fan?
To create a DIY USB RGB fan, you will need a USB cable, an RGB LED, a plastic bottle cap, a hot glue stick, a small fan blade, and basic tools such as scissors and a hot glue gun.
Can I use any type of USB cable for this project?
You can use most USB cables, but ensure it is in good condition. Standard USB cables that provide 5 volts of power will work well for this project. Avoid using damaged or frayed cables.
How do I power the RGB LED fan?
The RGB LED fan is powered through the USB cable. Simply connect the USB cable to a power source, such as a computer or a USB power adapter, to illuminate and operate the fan.
What are the benefits of using recycled materials for this project?
Using recycled materials for this project not only helps reduce waste but also makes the project more cost-effective. Additionally, it adds a unique, personalized touch to your DIY creation.
Can I modify the design of the DIY USB RGB fan?
Absolutely! Feel free to get creative with the design. You can use different fan blades, add more RGB LEDs, and even customize the housing using various recycled materials to make it your own.
How do I ensure the fan runs smoothly?
To ensure the fan runs smoothly and quietly, make sure the fan blade is securely attached and balanced. Use hot glue to secure the blade to the motor shaft, and test the fan to check for any wobbling or noise.
Related deep dives
Similar reads based on topic and creator.




Recent articles
Fresh deep dives from the latest Reels we unpacked.



Comments
Be the first to comment.