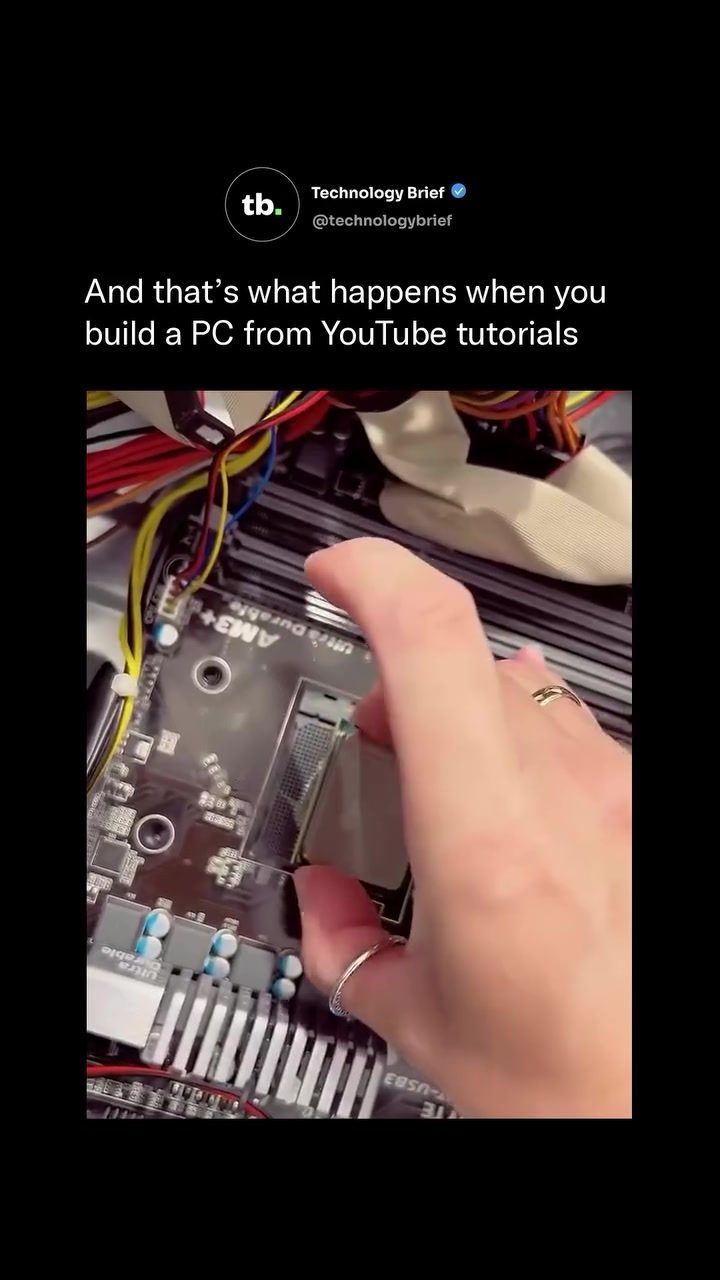
Building a PC from Scratch: Tips and Common Pitfalls
Building a PC from scratch has become an increasingly popular DIY project, with many beginners relying on online tutorials, especially YouTube, to guide them through the process. This involves handling delicate components such as the CPU, applying thermal paste, connecting the power supply, and setting up cooling systems. While there are countless guides available, first-time builders often encounter memorable mistakes and challenges that can be both frustrating and educational.
Why This Matters
PC building is a rewarding experience that offers a deep understanding of hardware and software integration. It allows for customization tailored to specific needs, whether for gaming, content creation, or general use. However, the process can be daunting, especially for beginners. Recognizing and navigating common pitfalls can save time, money, and frustration.
Main Discussion
Understanding the Components
Before diving into the build, it's crucial to understand the key components involved:
- CPU (Central Processing Unit): The brain of the computer, responsible for executing instructions.
- Motherboard: The main circuit board that connects all components.
- RAM (Random Access Memory): Temporary storage for data the CPU is actively using.
- Storage (SSD/HDD): Long-term storage for your files and operating system.
- GPU (Graphics Processing Unit): Handles graphical processing, essential for gaming and graphical applications.
- Power Supply Unit (PSU): Supplies power to all components.
- Cooling Systems: Maintains optimal temperatures to prevent overheating.
Common Mistakes and How to Avoid Them
Thermal Paste Application
One of the most common mistakes for new builders is improper application of thermal paste. This can lead to overheating and reduced performance. To avoid this:
- Use a small amount of thermal paste, about the size of a grain of rice.
- Apply it directly to the center of the CPU or the heat sink.
- Spread it evenly by gently pressing the heat sink down.
Cable Management
Cable management can be a nightmare, especially for first-time builders. Tangled wires not only look messy but can also obstruct airflow, leading to overheating. To keep cables organized:
- Plan your cable routes before starting the build.
- Use cable ties or Velcro straps to secure cables.
- Route cables behind the motherboard tray when possible.
Power Supply Connections
Connecting the power supply incorrectly can cause your PC to fail to boot. Always double-check:
- The 24-pin ATX connector is securely plugged into the motherboard.
- The 8-pin (or 4+4 pin) CPU power connector is properly attached.
- All peripheral connections (SATA, Molex) are secure.
Water-Cooled Builds
Water-cooled builds add an extra layer of complexity. Key considerations include:
- Ensuring all tubing is properly sealed to avoid leaks.
- Using the correct mix of coolant.
- Double-checking every connection before powering on.
The Importance of Double-Checking
Experienced builders often recommend double-checking every connection before powering on. This includes:
- Ensuring all components are properly seated.
- Verifying that all cables are securely connected.
- Confirming that the power supply is functioning correctly.
The Role of Supervisors (and Cats)
Some builders swear by having a cat (or other pet) supervise the build. While this might not have any technical benefits, it can add a layer of fun and stress relief to the process. Cats, in particular, are known for their curious nature and can provide a sense of companionship during long building sessions.
Practical Tips
Start with a Plan
Before purchasing any components, create a detailed plan outlining:
- The purpose of the build (gaming, content creation, etc.).
- The components you need.
- The budget you have.
- The case and aesthetic preferences.
Invest in Quality Tools
Having the right tools can make the build process much smoother. Essential tools include:
- Anti-static wrist strap to protect components from static discharge.
- Small screwdriver set for delicate work.
- Cable ties or Velcro straps for cable management.
- Thermal paste applicator or small spatula.
Follow Trusted Guides
While tutorials can be a fantastic resource, it's crucial to rely on reputable sources. Look for guides from experienced builders or well-known tech channels.
Practice Patience
Building a PC requires patience and attention to detail. Don't rush through the process. Take your time to ensure everything is correctly connected and seated.
Important Takeaways
- Understand the Components: Familiarize yourself with each component and its role in the system.
- Plan Ahead: Create a detailed plan and budget before purchasing components.
- Double-Check Connections: Always double-check every connection before powering on.
- Manage Cables Carefully: Proper cable management is crucial for aesthetics and airflow.
- Seek Reliable Guides: Follow tutorials from trusted sources.
Conclusion
Building a PC from scratch is a challenging but rewarding experience. Whether you're a beginner or an experienced builder, understanding the components, avoiding common mistakes, and following reliable guides can greatly enhance your success. With patience and careful planning, you can create a custom PC tailored to your specific needs and preferences.
Questions readers ask
What are some common mistakes beginners make when building a PC from scratch?
Common mistakes include improperly installing the CPU, not applying enough thermal paste, and incorrectly connecting the power supply. These errors can lead to poor performance or even hardware damage. For example, too much or too little thermal paste can cause overheating or poor conductivity. Additionally, incorrect power supply connections can prevent the PC from turning on or cause instability.
How can I ensure I'm applying thermal paste correctly?
To apply thermal paste correctly, first clean the CPU and heatsink surfaces with isopropyl alcohol. Then, apply a pea-sized amount of thermal paste directly onto the center of the CPU. When you install the heatsink, the pressure will spread the paste evenly. Avoid using too much paste, as it can cause excess heat or make a mess that can enter the motherboard components and cause failure.
What should I know about water cooling setups for my PC build?
Water cooling setups can offer better performance than air cooling, but they require careful planning. Ensure you have the correct fittings and tubing for your components. For a beginner, a closed-loop system is recommended, as it is easier to install and maintain. Open-loop systems offer more customization but require more expertise, as they are prone to leaks.
What should I do if my PC won't turn on after assembly?
If your PC won't turn on, first check all power supply connections to ensure they are secure. Verify that the power supply unit (PSU) is working by testing it with a paperclip on the PSU 24-pin connector. Additionally, make sure the CPU is properly seated and that the RAM is correctly installed. If everything seems correct, try resetting the CMOS by removing the battery from the motherboard for a few minutes and then reinserting it.
What are the key components I should focus on when building a PC?
Focus on the CPU, GPU, motherboard, RAM, storage, and power supply as these are the core components. Ensure compatibility between these parts, such as the correct RAM type for your motherboard and enough power from the PSU for your GPU. Also, consider future upgrades and ensure your case has enough space for additional components.
How can I avoid common pitfalls when following YouTube PC build tutorials?
To avoid common pitfalls, follow tutorials from reputable sources and double-check each step. Take notes and use the tutorial as a guide rather than a strict script. Be prepared to troubleshoot and research specific issues as they arise. Additionally, invest in a quality toolkit and use anti-static precautions to protect your components from damage.
Is it necessary to use an anti-static wristband when building a PC?
While not strictly necessary, using an anti-static wristband can provide an extra layer of protection for your components. Static electricity can damage sensitive PC parts, and an anti-static wristband helps to ground you, reducing the risk of electrostatic discharge. If you don't have one, make sure to work on a non-conductive surface and periodically touch a grounded metal object to dissipate any static build-up.
Related deep dives
Similar reads based on topic and creator.




Recent articles
Fresh deep dives from the latest Reels we unpacked.




Comments
Be the first to comment.